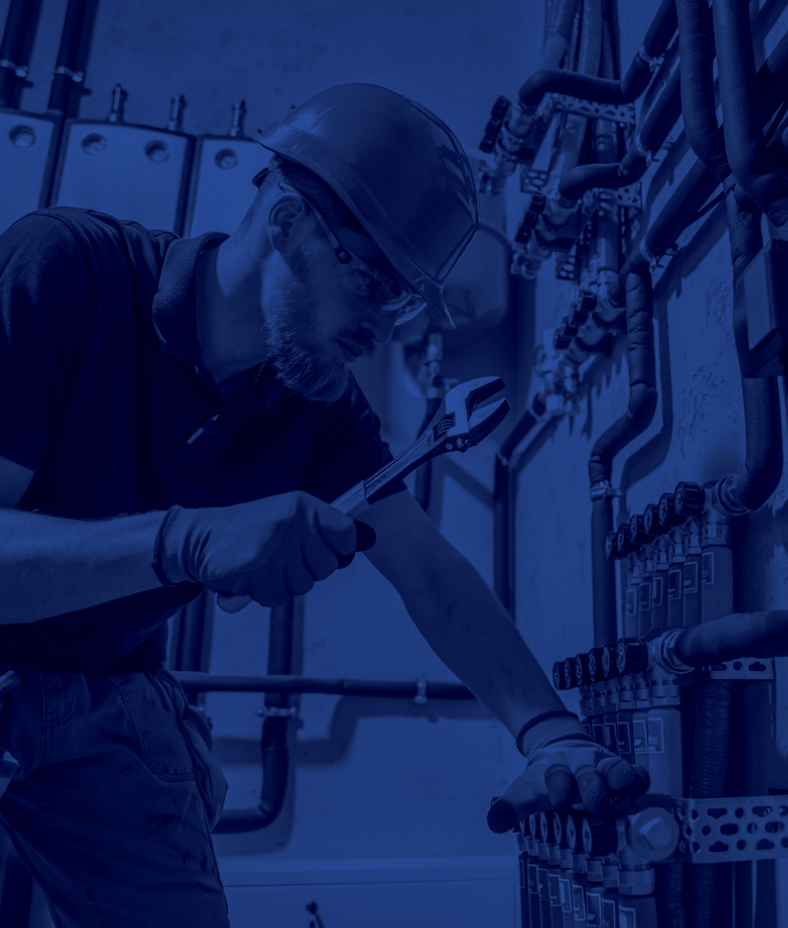
Plumbing installation might not be the most glamorous aspect of home improvement, but it’s undoubtedly one of the most crucial. Imagine a world without proper plumbing—no running water for bathing, cooking, or cleaning, and certainly no functional toilets. Maintaining functional and comfortable living spaces requires proper plumbing installation, which plays a vital role in our daily lives.
Whether you’re a homeowner embarking on a DIY renovation project or a professional plumber looking to hone your skills, mastering the art of plumbing installation is paramount. Proper installation ensures not only the seamless functioning of plumbing systems but also safeguards against costly repairs and potential hazards such as leaks and water damage. Getting it right the first time saves you time, money, and headaches down the line.
You will find valuable knowledge and practical tips in this blog post for both novices and seasoned pros alike on plumbing installation. You’ll learn everything you need to know to elevate your plumbing game, from understanding the basics to mastering intricate installation techniques. You’re about to learn the essential techniques that will empower you to master the art of plumbing installation, regardless of whether you are embarking on a small-scale or a large-scale project.
Understanding Plumbing Basics
Plumbing systems deliver clean water and remove waste from our homes and buildings, making them unsung heroes of modern living. At its core, a plumbing system comprises a network of pipes, fittings, fixtures, valves, and other components designed to facilitate the flow of water and sewage. To ensure optimal functionality and efficiency, it’s crucial to grasp the foundational elements of plumbing systems before diving into installation.
Proper planning and design are fundamental prerequisites for any plumbing project, big or small. Without careful consideration of factors such as water supply requirements, drainage patterns, and fixture placement, even the most well-intentioned installation efforts can result in subpar outcomes. Planning ahead not only helps optimize the layout and efficiency of your plumbing system but also prevents costly mistakes.
When it comes to selecting materials for plumbing installations, there’s no shortage of options available. Common choices include copper, PVC (polyvinyl chloride), PEX (cross-linked polyethylene), and galvanized steel, each with its own set of advantages and drawbacks. The durability and corrosion resistance of copper, for example, make it one of the most valuable metals, but it is also more expensive expensive than alternatives like PVC and PEX. PVC, on the other hand, is affordable and easy to work with but may not be suitable for hot water applications. Making informed decisions aligned with your project requirements and budget requires understanding the pros and cons of different materials.
Plumbing installation must adhere to local building codes and regulations. Building codes exist to ensure the safety, integrity, and compliance of construction projects, including plumbing systems. Those who fail to comply with these regulations are likely to incur fines, legal liabilities, and may even pose a danger to occupants. Before embarking on any plumbing installation project, it’s imperative to familiarize yourself with relevant building codes and obtain necessary permits to avoid costly complications and ensure peace of mind.
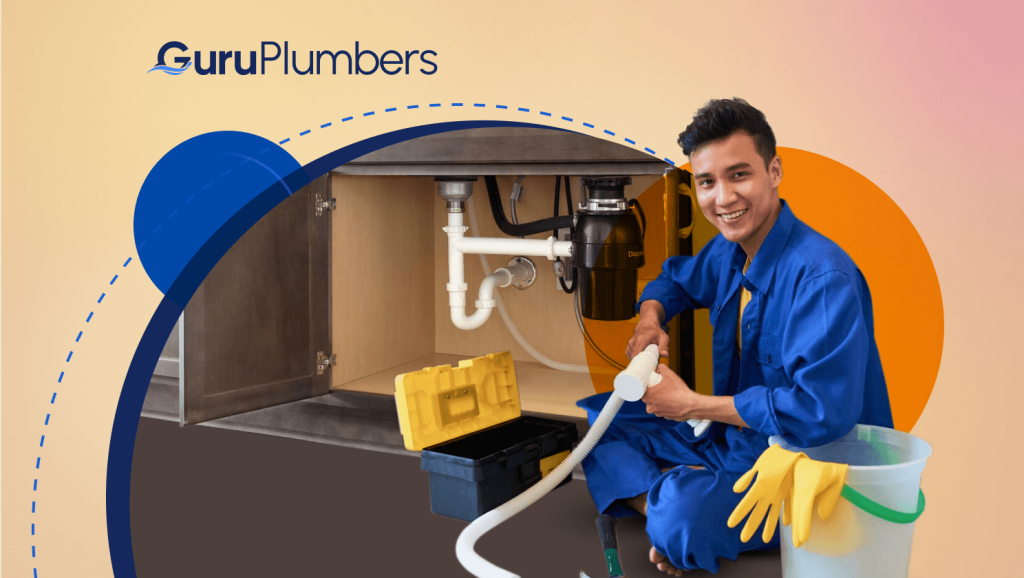
Essential Tools and Equipment
Embarking on a plumbing installation project without the right tools is akin to setting sail without a compass – it’s bound to lead you astray. To ensure smooth sailing and successful outcomes, it’s essential to arm yourself with the necessary tools and equipment before diving into the world of plumbing installation. Here’s a rundown of the must-have tools and equipment you’ll need:
Pipe Cutter
A pipe cutter is indispensable for cleanly cutting pipes to size, whether you’re working with copper, PVC, or PEX. Opt for a cutter with sharp blades and a sturdy design to ensure clean, precise cuts every time.
Adjustable Wrenches
Adjustable wrenches come in handy for tightening and loosening nuts and fittings. Invest in both large and small sizes to accommodate various pipe diameters and fittings.
Pipe Wrench
A pipe wrench is essential for gripping and turning pipes and fittings with round surfaces. Look for a heavy-duty wrench with serrated jaws for maximum grip and torque.
Pliers
Pliers are versatile tools for gripping, bending, and cutting. Needle-nose pliers are handy for reaching tight spaces, while tongue-and-groove pliers excel at gripping large objects.
Hacksaw
A hacksaw is indispensable for cutting pipes and fittings in tight or hard-to-reach spaces. Choose a hacksaw with a comfortable handle and replaceable blades for added convenience.
Plumber’s Tape
Teflon tape is also known as plumber’s tape, and it seals threaded fittings against water. Make sure to use high-quality tape to prevent leaks and ensure a secure connection.
Deburring Tool
Deburring pipes after cutting can prevent leaks and impede water flow. A smooth, clean edge ensures a proper seal when joining pipes and fittings.
Propane Torch
If you’re working with copper pipes, a propane torch is essential for soldering joints. Avoid accidents and injuries by using a torch with caution and following proper safety protocols.
Pipe Threader
A pipe threader is indispensable for threading pipes and creating threaded connections. While not necessary for every project, it can be a lifesaver when working with threaded pipe fittings.
Inspection Camera
An inspection camera is a handy tool for diagnosing plumbing issues and inspecting hard-to-reach areas such as pipes behind walls or under floors. Invest in a high-quality camera with adjustable lighting and a flexible cable for maximum versatility.
When selecting tools and equipment for plumbing installation, prioritize quality and durability over price. If you want to ensure that your tools will last for a long time, you should choose reputable brands that are known for their reliability and performance. For your tools to function at their best, they must also be maintained and cared for. Prevent rust and corrosion by keeping blades sharp and keeping tools dry and climate-controlled.
In addition to the basic tools mentioned above, specialized tools can further streamline plumbing installation tasks and enhance precision and efficiency. For example, a tubing cutter is specifically designed for cutting copper tubing with minimal effort and precision. Similarly, a basin wrench is invaluable for tightening and loosening nuts in hard-to-reach spaces, such as behind sinks and toilets.
By equipping yourself with the right tools and equipment and maintaining them properly, you’ll be well-prepared to tackle any plumbing installation project with confidence and precision. Your plumbing projects will be more successful and last longer if you invest in quality tools, regardless of whether you’re a professional or a DIY enthusiast.
Proper Installation Techniques
Mastering proper installation techniques is the cornerstone of successful plumbing projects. For leak-free installations and the longevity of your plumbing system, paying attention to detail and adhering to best practices are essential. In this section, we’ll delve into step-by-step instructions for various plumbing installation tasks, highlight best practices for leak prevention, and discuss techniques for working safely with different materials.
Piping Installation:
a. Measure and cut pipes to the required lengths using a pipe cutter or hacksaw, ensuring clean, square cuts.
b. Remove any burrs or rough edges from the cut ends using a deburring tool to ensure a proper seal.
c. Dry-fit the pipes and fittings together to ensure proper alignment before applying adhesive or solder.
d. Apply solvent cement or solder to the joint, following manufacturer instructions carefully, and allow sufficient curing time.
e. Test the joints for leaks by pressurizing the system with air or water and inspecting for any signs of leakage.
Fixture Installation:
a. Begin by shutting off the water supply to the fixture and draining any remaining water from the pipes.
b. Position the fixture in the desired location, ensuring proper alignment and clearance.
c. Connect the fixture to the existing plumbing using appropriate fittings and connectors, such as compression fittings or soldered joints.
d. Secure the fixture in place using mounting hardware and ensure all connections are tight and leak-free.
e. Turn on the water supply and test the fixture for proper functionality, checking for leaks at connections and joints.
Connection Installation:
a. Clean and prepare the surfaces of the pipes and fittings to be joined, removing any dirt, debris, or corrosion.
b. Apply the plumber’s tape or pipe joint compound to threaded connections to create a watertight seal.
c. Use adjustable wrenches to tighten threaded connections, being careful not to overtighten.
d. For soldered connections, heat the joint evenly with a propane torch and apply solder to the heated area, allowing it to flow into the joint.
e. Wipe away excess solder and flux using a clean cloth and inspect the connection for any signs of leaks.
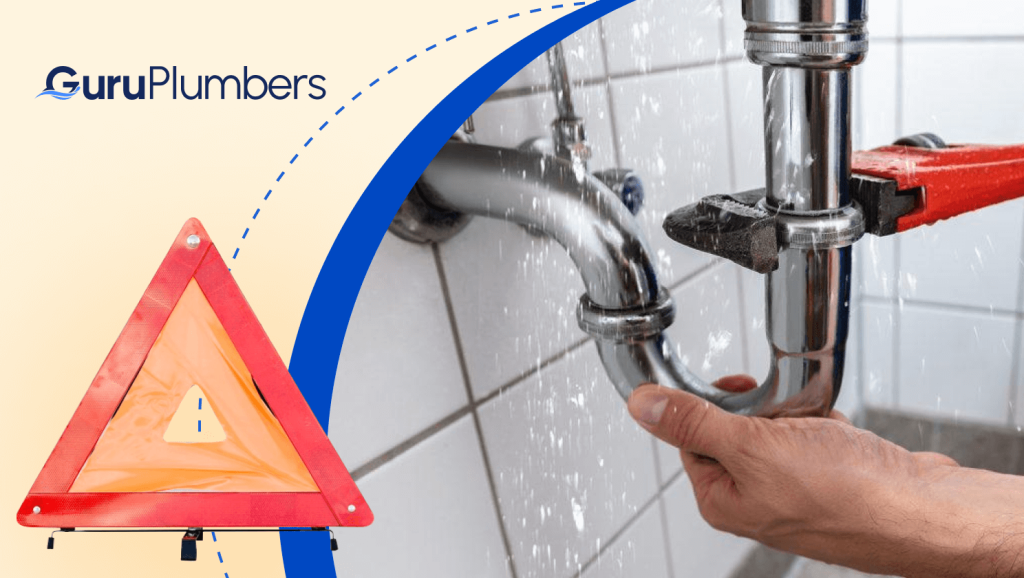
Best Practices for Leak Prevention
- Choose high-quality materials and components that are compatible with existing plumbing and designed for the specific application.
- Ensure proper alignment and fitment of pipes, fittings, and fixtures to prevent stress and strain on connections.
- Apply appropriate sealants, adhesives, or soldering techniques to create leak-free joints and connections.
- Inspect and test all connections and joints thoroughly before covering or concealing them to identify and address any potential leaks promptly.
Techniques for Working Safely:
- Wear protective equipment (PPE) when handling hazardous materials or tools, such as gloves, safety glasses, and respirators.
- Familiarize yourself with the properties and characteristics of different plumbing materials and take precautions accordingly.
- Follow proper handling and storage procedures for materials and tools to prevent accidents and injuries.
- Be prepared to handle unexpected challenges or complications during installation by having contingency plans in place and seeking assistance or advice when needed.
By following these proper installation techniques, best practices for leak prevention, and safety guidelines, you’ll be well-equipped to tackle plumbing projects with confidence and precision.
Whether you’re a DIY enthusiast or a seasoned professional, attention to detail and a commitment to quality craftsmanship are vital to achieving successful plumbing installations that stand the test of time.
At Guru Plumbers, we understand that mastering the fundamentals of plumbing is crucial for ensuring the longevity and efficiency of your systems. Whether you’re a DIY enthusiast or need professional assistance, our expert plumbing services are here to support you every step of the way. Don’t risk costly mistakes or non-compliance with building codes – trust the experts to get the job done right. Contact Guru Plumbers today for reliable, top-notch plumbing solutions tailored to your needs. Call us now or visit our website to schedule a consultation and let us help you achieve flawless plumbing installations.