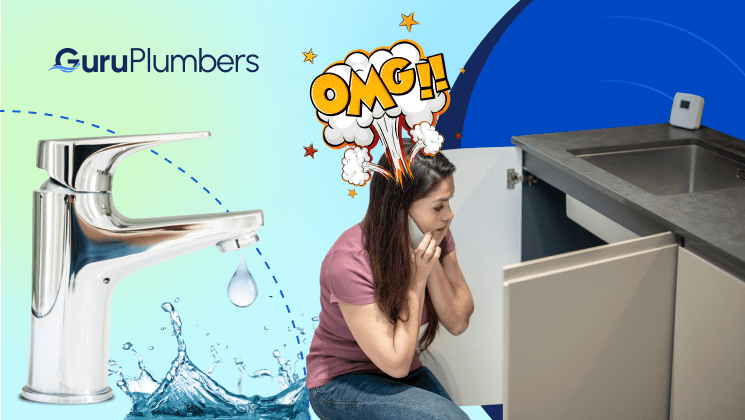
Imagine preparing dinner for a big family gathering when suddenly your kitchen sink backs up, leaving you with a mess and no working sink. This is a common scenario that causes frustration and can ruin your plans.
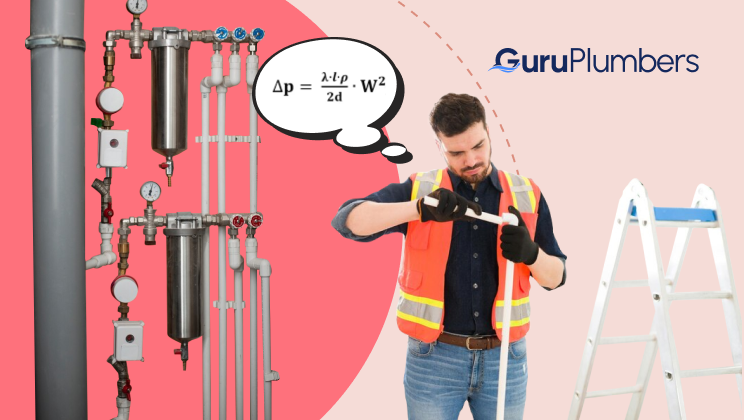
Understanding the basics of kitchen sink and bathroom sink plumbing can save you time, money, and stress. DIY maintenance allows you to address common issues quickly and efficiently without needing to call a plumber for every problem.
In this post, you’ll learn how to identify common kitchen sink problems, the essential tools needed for DIY plumbing, step-by-step maintenance tips, and preventive measures to keep your sink in top condition.
Understanding Your Kitchen Sink Plumbing
Components of Kitchen Sink Plumbing:
The Sink Basin: The main bowl where you wash dishes and prepare food. The sink bowl is an integral part of the plumbing system, connecting to the drain and ensuring proper water flow and drainage.
Faucet and Handles: Controls the flow and temperature of the water.
P-trap: Under your sink, this U-shaped pipe traps debris and protects your home from sewer gases.
Garbage Disposal (if applicable): Grinds up food waste to pass it through the drain more easily.
Water Supply Lines: Flexible tubes that bring hot and cold water from the main supply to your faucet.
Drain Pipes: Pipes that carry wastewater from the sink to the home’s sewage system.
How It All Works Together:
When you turn on the faucet, water flows from the supply lines through the faucet and into the sink basin. Used water drains through the sink drain, passing through the P-trap, which catches debris and prevents sewer gases from rising. Before food waste passes through your drain pipes, it is ground up by a garbage disposal. Finally, wastewater is carried away through the drain pipes to the home’s sewage system. Clogs and leaks are prevented by each component working together.
Common Kitchen Sink Issues
Clogs:
Signs of a Clogged Sink:
- Water drains slowly or not at all.
- Gurgling sounds from the drain.
- Unpleasant odors.
Common Causes of Clogs:
- Accumulation of food particles.
- Grease buildup.
- Foreign objects (utensils, small items).
- Plumbing setups with two sinks can also face unique clogging challenges due to the merging of piping for two bathroom sinks with one outlet.
Leaks:
Identifying the Source of a Leak:
- Check under the sink for water pooling.
- Inspect connections and seals for moisture.
- Look for water stains on surrounding surfaces.
Typical Places Where Leaks Occur:
- Around the faucet base.
- At pipe joints and connections.
- P-trap and drainpipe areas.
- Wall connections.
Low Water Pressure:
Possible Reasons for Low Water Pressure:
- Clogged aerator.
- Leaks in the water supply lines.
- Mineral buildup in pipes.
How to Diagnose the Problem:
- Remove and clean the faucet aerator.
- Inspect supply lines for leaks or kinks.
- Check for mineral deposits in the pipes.
Essential Tools and Materials for DIY Plumbing
Basic Tools:
Plunger: For dislodging clogs in the sink drain.
Pipe Wrench: For gripping and turning pipes and fittings.
Basin Wrench: For tightening or loosening nuts in hard-to-reach places.
Adjustable Pliers: For gripping and turning various plumbing parts.
Pipe Tape: For sealing threaded pipe connections to prevent leaks.
Materials:
Replacement Washers and Gaskets: To fix leaks in faucets and connections.
Plumber’s Putty: For creating watertight seals around fixtures.
Drain Snake: For removing stubborn clogs deep in the drain.
Chemical Drain Cleaners (use with caution): For dissolving tough clogs (avoid overuse to protect pipes).
Bucket and Rags: For catching water and cleaning up spills.
Step-by-Step DIY Maintenance Tips
Unclogging the Sink:
Using a Plunger:
- Fill the sink partially with water.
- A good seal should be achieved by placing the plunger over the drain.
- Push and pull the plunger vigorously for 20-30 seconds.
- If the water drains, remove the plunger. Repeat if necessary.
Using a Drain Snake:
- You need to insert the snake into the drain until resistance is felt.
- The snake should be rotated to remove the clog.
- Continue pushing and rotating until the clog is cleared.
- Withdraw the snake and run water to ensure the drain is clear. Make sure the sink bowl is clear of debris to prevent future clogs.
Cleaning the P-trap:
- Place a bucket under the P-trap to catch water.
- Loosen the slip nuts on the P-trap with pliers.
- Remove the P-trap and clear out any debris.
- Tighten the slip nuts securely after reassembling the P-trap.
Fixing Leaks:
Tightening Connections:
- Identify the leaking connection.
- Adjust the wrench to tighten the fitting.
- Check for leaks after tightening.
Replacing Worn-out Washers:
- Turn off the water supply.
- Disassemble the faucet to access the washer.
- Replace the old washer with a new one of the same size.
- Reassemble the faucet and turn on the water supply.
Using Plumber’s Tape on Threaded Connections:
- Turn off the water supply.
- Remove the threaded connection.
- Wrap plumber’s tape clockwise around the threads.
- Reassemble the connection and tighten securely.
Improving Water Pressure:
Cleaning Faucet Aerators:
- Unscrew the aerator from the faucet.
- Soak it in vinegar to dissolve mineral buildup.
- Scrub the aerator with a brush and rinse.
- Reattach the aerator to the faucet.
Checking for Hidden Leaks:
- Inspect under the sink and around pipes for moisture.
- Tighten any loose connections.
- Repair or replace damaged pipes.
Inspecting and Cleaning the Supply Lines:
- Turn off the water supply.
- Disconnect the supply lines from the faucet.
- Inspect for blockages or kinks and clean if necessary.
- Reconnect the supply lines and turn on the water supply.
Preventive Measures to Keep Your Sink in Top Condition
Regular Maintenance:
Cleaning the Sink and Drain Regularly:
- Wipe down the sink basin daily.
- Keep your drain clean by pouring boiling water down it on a weekly basis.
- Drains should be cleaned monthly with a mixture of baking soda and vinegar.
- In a two-sink setup, ensure both sinks are maintained regularly to prevent plumbing issues.
Avoiding Disposal of Grease and Large Food Particles:
- Dispose of grease in a container, not down the drain.
- Before washing dishes, discard food scraps.
Routine Inspections:
Checking for Signs of Leaks and Wear:
- Regularly inspect pipes and connections for moisture.
- Look for water stains or damage around the sink area.
- Inspect wall connections for any signs of leaks.
Inspecting the Garbage Disposal:
- Check for leaks around the disposal unit.
- Ensure the disposal is running smoothly and clear any blockages.
Tips for Long-term Care:
Using Strainers to Catch Debris:
- Over the sink drain, place a strainer to catch food particles.
- Empty the strainer regularly.
Running Hot Water After Each Use:
- After using the sink, run hot water for a few seconds.
- This helps flush out any grease or debris and keeps the drain clear.
Final Thoughts
Understanding your kitchen sink plumbing can prevent common issues like clogs, leaks, and low water pressure. Essential tools such as plungers, pipe wrenches, and drain snakes are invaluable for DIY maintenance. Keeping your sink in good condition requires regular inspections and preventive measures.
You now have the knowledge to tackle basic plumbing problems confidently. By following these tips, you can save time and money while ensuring your kitchen sink runs smoothly. For more information, check out these useful resources and links (http) for products and tools needed for plumbing maintenance.
Share your experiences with kitchen sink plumbing in the comments below. If you have questions, feel free to ask. Subscribe to our blog for more DIY home maintenance tips and tricks.